
The first file looks like a normal log. The second looks like a Windows memory image. The third appears to be an ordinary executable. The fourth is a packet capture crowded with mundane traffic. The fifth refuses to identify its own format. None hands you a neat answer. Together they teach a better habit: follow evidence across layers, and demand a stronger proof at every step.
This is a field guide to Tasks 1–5 of the 2026 NSA Codebreaker Challenge, based on the artifacts supplied by the challenge. Tasks 1–4 reflect completed, independently checked solves. Task 5 is an active investigation: its file format and layered decoding have been reconstructed, but the target ID has not yet been confirmed. This guide withholds every final submission value: the Task 1 PID, the Task 2 full path, all six Task 3 IOC fields, the Task 4 enrollment key and tasking UUID, and any Task 5 target ID. The commands and decision points are real; the mystery remains yours.
 The live 2026 NSA Codebreaker Challenge portal, captured from the official NSA challenge site on September 28, 2026
Source: NSA Codebreaker Challenge, captured from the official portal. This guide uses sourced screenshots only—no generated or AI-created imagery.
The official challenge page supplies the files and grades submissions. Work only with your own downloaded challenge artifacts, and keep the original bytes intact. The network and malware material in this article is examined offline. There is no reason to execute the unknown program or contact a domain found inside it to learn the skills taught here.
| Task | Primary evidence | Core skill | Proof gate before submission |
| --- | --- | --- | --- |
| 1 | Multi-host syslog | Process lineage | Host + PID + timestamp + decisive action |
| 2 | Windows memory image | Cross-view memory forensics | Independent process views + live image metadata |
| 3 | Packed PE | Static reverse engineering | Reproduced pure functions + consuming instructions |
| 4 | Packet capture and recovered media | TCP reassembly, protocol recovery, steganography | ZIP integrity + authenticated decryption |
| 5 | Unknown-format file | Layered file recovery | Coherent PE structure + validated decompression boundary |
The working contract: scope, integrity, and a hypothesis ledger
Ethical hacking begins with an authorization boundary. This exercise authorizes analysis of its supplied files and the challenge's answer checker. It does not grant permission to probe unrelated hosts, reuse discovered IOCs against real infrastructure, or upload samples to a public service. The same distinction applies in professional work: obtain a defined scope, keep an evidence copy, and record what each test can actually prove.
Create a working directory and hash the originals before editing or extracting anything. On Windows PowerShell:
$lab = Join-Path $env:USERPROFILE 'Codebreaker-2026-lab'
New-Item -ItemType Directory -Force -Path $lab | Out-Null
Copy-Item .\syslog, .\suspicious_files.zip, .\challenge.pcap, .\unknown_file -Destination $lab
Get-FileHash (Join-Path $lab 'challenge.pcap') -Algorithm SHA256
Get-FileHash (Join-Path $lab 'suspicious_files.zip') -Algorithm SHA256
Get-FileHash (Join-Path $lab 'unknown_file') -Algorithm SHA256
The examples below use PowerShell, Python 3, Volatility 3, Wireshark's TShark/capinfos, and a PE parser. Install tools from their official project pages or established package repositories. For the two Python libraries used in the small local examples, python -m pip install pefile pillow is sufficient in a Python environment you control. If the python launcher is named py on your system, substitute py in that command and the examples below.
For the memory archive, compare the published .sha1sum values to your downloaded archive and extracted raw image. A matching hash proves the bytes you analyzed match the provided checksum; it does not prove that a file is benign. Preserve the hashes, tool versions, command line, and key observations in a short lab notebook.
Our hypothesis ledger was simple and effective:
- Log observation: a service starts a shell. Hypothesis: the service PID is the requested PID. Test: follow the shell's later actions. Result: rejected; the service was a parent, not the damaging actor.
- Memory observation: a filename appears at two paths. Hypothesis: either could be the running image. Test: compare process metadata and checker wording. Result: only the live image path fit.
- Binary observation: a packed PE contains a familiar port. Hypothesis: the literal table value is the network destination. Test: trace the branch and arithmetic that consume it. Result: the value is transformed.
- Capture observation: recovered files contain readable 12-letter strings. Hypothesis: one is the enrollment key. Test: authenticate the encrypted record. Result: several plausible strings failed.
The lesson is not to avoid guesses entirely. It is to write down what would falsify a guess before submitting it.
 NSA's official September 25, 2026 announcement describing the 13th annual Codebreaker Challenge
Source: National Security Agency press release. The agency describes a fictional, mission-centric exercise spanning reverse engineering, cryptography, vulnerability research, and network forensics.
Task 1 — A log line is an event, not an attribution
Task 1 starts with syslog, a noisy multi-host record. A straight keyword search finds an update-looking service, a download, and an execution line. The trap is answering with the first process that looks suspicious. A parent can participate in an intrusion while the child performs the action the question asks about.
Start by preserving line numbers and searching for process creation, network retrieval, and execution terms:
Select-String -Path .\syslog -Pattern 'Spawned child process|curl -fsSL|executing /tmp/|checksum mismatch' -Context 2,2
Now build a process lineage, not a keyword list. Note the process in brackets after Spawned child process; search for its later bracketed identifier; then trace the download into the hidden /tmp/.cache/ location and its execution. Record both timestamps and hostnames. In this particular challenge, a hostname mismatch across related-looking lines makes blind grouping dangerous. Treat the PID linkage and behavior as separate clues, and let the official checker resolve the requested identity.
An alternative is to parse the file into structured rows. Extract timestamp, host, program, PID, and message into a CSV; group by PID; then sort each group's events. That scales better than reading 100,000 bytes manually, but it creates a new risk: the same PID can appear on different hosts. Use host + PID + time window as the grouping key, and still inspect the raw lines behind any conclusion.
Checkpoint: Can you identify the parent, the child it started, and the exact later line that proves which actor downloaded or executed the hidden item? Do not submit until you can explain why the other PID is the wrong role.
Task 2 — Cross-view memory forensics beats a single process list
The next artifact is a compressed Windows memory image. Verify both archive and raw-image checksums before interpretation. Then use Volatility 3 to compare independent views of processes. A rootkit can remove a process from the normal active-process list without removing every kernel allocation, thread relationship, or user-mode process parameter.
The core commands, run against your extracted file, are:
py .\vol.py -f .\memory-dirty.raw windows.info
py .\vol.py -f .\memory-dirty.raw windows.pslist
py .\vol.py -f .\memory-dirty.raw windows.psscan
py .\vol.py -f .\memory-dirty.raw windows.psxview
py .\vol.py -f .\memory-dirty.raw windows.cmdline
The Volatility Windows tutorial documents the command form and the purpose of the Windows plugins. On a large image, the first run may take time while symbols are resolved. Do not treat a missing row in pslist as proof of concealment by itself: psscan can also find terminated processes and stale allocations. Correlate the candidate's scan presence with thread or CSRSS views, its exit time, and process metadata.
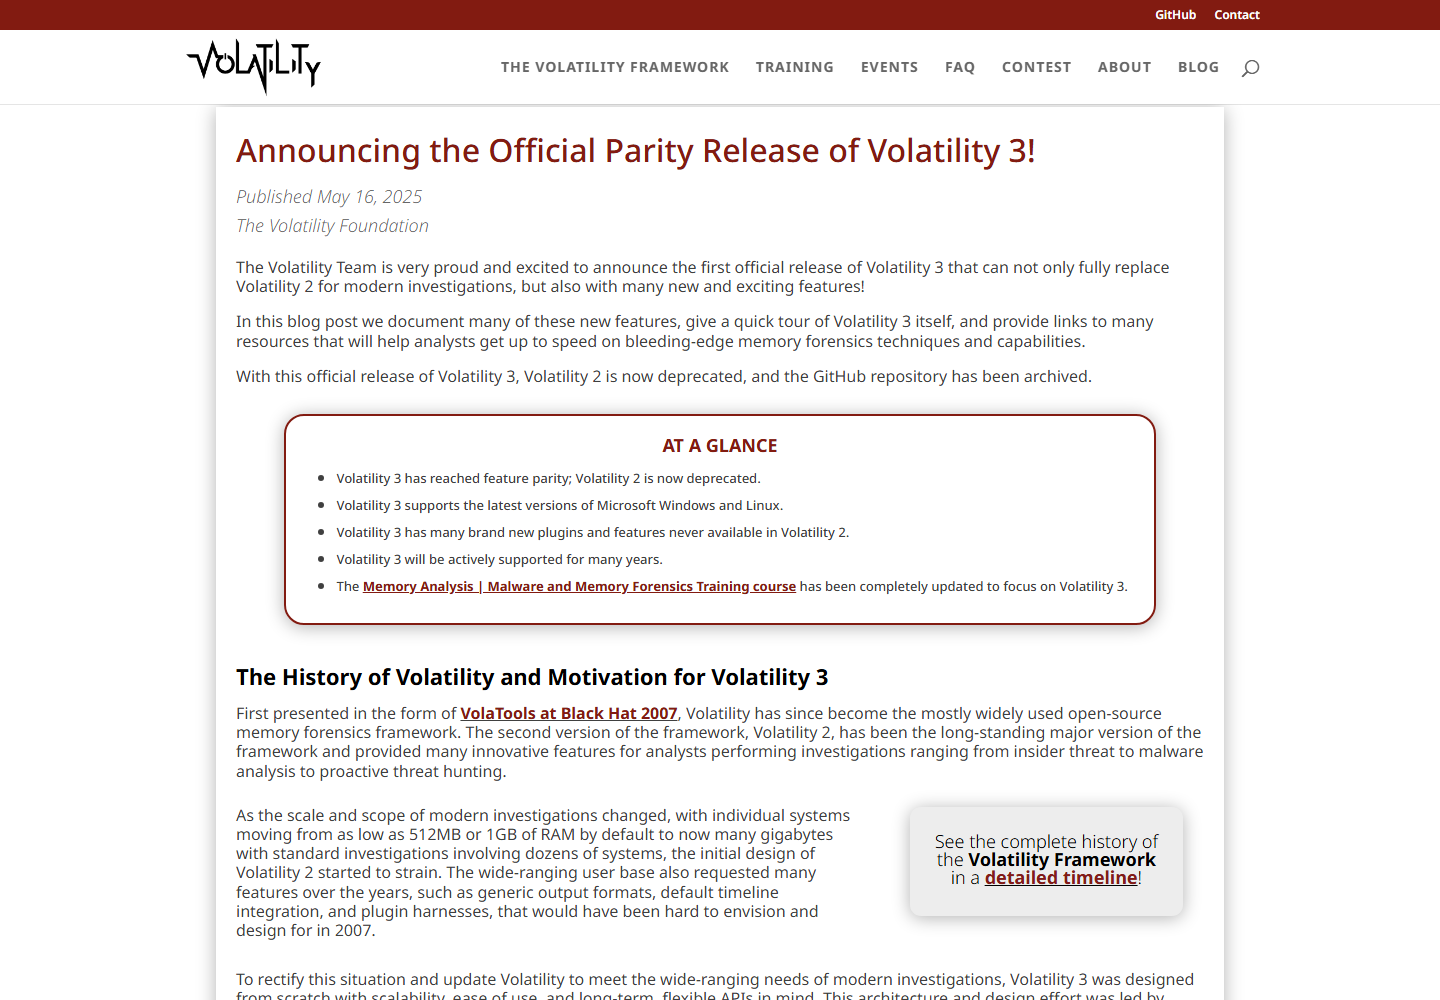 The Volatility Foundation's official Volatility 3 parity-release announcement
Source: The Volatility Foundation. The Foundation states that Volatility 3 reached feature parity in 2025 and that Volatility 2 is deprecated; the commands in this guide use Volatility 3.
Here, the interesting process appeared in scan and other structural views but not in the ordinary list, and it had no exit time. That made it a strong candidate. The path question required a second step. A path found in raw strings may name an old file on disk, a command argument, an antivirus signature, or a cached value. We compared the process's PEB ImagePathName, its CommandLine, and a kernel audit path. Those independent fields agreed on the running image location; an equally plausible path elsewhere in the dump was merely historical.
Use strings only as corroboration:
Select-String -Path .\memory-strings.txt -Pattern 'candidate\.exe|System32|Desktop' -Context 1,1
If you have not created a strings file, use a memory-forensics plugin or a read-only strings utility rather than opening a multi-gigabyte raw image in a text editor. Be especially skeptical of malware names in antivirus signature blocks. A match in memory is not evidence that the named executable ran.
Checkpoint: Which candidate is missing from pslist yet supported by other live-process evidence? What exact metadata establishes its running path, and what merely establishes that a same-named file existed somewhere on disk?
Task 3 — The packed executable is a program, not a bag of strings
Task 3 asks for six IOCs: communications source and destination ports, contacted host and directory, requested filename, first written filename, and final written filename. The supplied ZIP contains a small text token and a suspicious Windows executable. Do not run it. A strings dump is useful reconnaissance, but the values are generated and changed by code. The most enticing literal can be a table entry, a debug branch, or a decoy.
Inspect the archive and record file hashes before extraction:
tar -tf .\suspicious_files.zip
Expand-Archive -LiteralPath .\suspicious_files.zip -DestinationPath .\suspicious_files -Force
Get-ChildItem .\suspicious_files -File | ForEach-Object { Get-FileHash $_.FullName -Algorithm SHA256 }
Then use a PE parser to inspect section names, sizes, entry point, and imported APIs without executing the sample:
@'
import pefile
pe = pefile.PE(r'.\suspicious_files\sample.exe', fast_load=True)  # replace with the actual EXE name
print(f'entry RVA: 0x{pe.OPTIONAL_HEADER.AddressOfEntryPoint:x}')
for s in pe.sections:
    print(s.Name.rstrip(b'\0').decode(errors='replace'), hex(s.VirtualAddress), hex(s.SizeOfRawData))
'@ | py -
The file used a modified UPX-style NRV2B packing flow. A conventional upx -t check is a useful first diagnostic, but failure does not settle what the entry stub does when names or header bytes are altered. Our read-only route reconstructed the decompressed bytes, reversed a branch filter, and reviewed the result in a disassembler. We never executed the unknown executable or its downloaded second stage.
The pivotal distinction was literal versus computed value. One network port came from a table and then passed through arithmetic. A different debug-detected branch returned another value. The hostname was built from bytes with a simple per-character transform. A text token seeded 32-bit mixing functions that produced the directory and filenames. A later routine prefixed the first filename, wrote a transformed copy, deleted the first file, and launched the final one. Submitting the first name for both fields would miss that state change.
You can independently implement any recovered pure function without running malware. This example shows the shape of a 32-bit FNV-1a check; it is not the entire challenge decoder and contains no challenge answer:
def fnv1a32(data: bytes) -> int:
    h = 0x811C9DC5
    for byte in data:
        h = ((h ^ byte) * 0x01000193) & 0xFFFFFFFF
    return h

# Feed the exact bytes from your own extracted text file, then compare the
# result to the disassembled function before trusting any derived IOC.
Two independent checks are better than one: derive a value in Python from the text token, then trace the corresponding register and branch in the disassembly. If you use a CPU emulator, constrain it to known side-effect-free helper functions and abort when control flow leaves those addresses. Emulating arbitrary code or allowing Windows API calls defeats the purpose of safe static analysis.
Checkpoint: For each of the six fields, write the data source, transform, and consuming instruction. Which destination-port value is selected on the normal path? Which filename exists first, and which remains after the copy/delete sequence?
Task 4 — Stop reading packets as packets
The fourth task is where many strong analysts burn time. The capture has 10,462 packets over about six minutes, including ordinary traffic that makes every plausible string look important. The correct starting point is not a global string search. It is a conversation map followed by TCP reassembly. capinfos reports the file properties, and TShark's manual documents the display filters, field output, and follow-stream modes used here.
capinfos .\challenge.pcap
tshark -r .\challenge.pcap -q -z conv,tcp
tshark -r .\challenge.pcap -Y 'tcp.port == 21763 && tcp.len > 0' `
  -T fields -e frame.number -e tcp.stream -e ip.src -e ip.dst -e tcp.len
Find a promising stream index in that output and inspect the reconstructed byte stream:
tshark -r .\challenge.pcap -q -z 'follow,tcp,hex,29'
29 is an example stream index from this capture, not a key or a final answer. Avoid interpreting individual TCP segments as complete application messages; segmentation and retransmission are transport details. Group by tcp.stream, reassemble in sequence order, and compare more than one successful conversation with failed attempts. The custom protocol starts with a recognizable four-byte marker and a nonce-bearing exchange; successful and rejected conversations then diverge.
 The real Wireshark interface shown in the official Wireshark User's Guide
Source: Wireshark User's Guide, official project documentation. This screenshot demonstrates the packet list, protocol tree, and byte pane; it is not a fabricated challenge capture and contains no Codebreaker answer.
The server payloads were not plaintext ZIP chunks. The reversible mask used SHA-256 blocks built from a session nonce and a big-endian counter:
import hashlib

def xor_hash_stream(ciphertext: bytes, nonce: bytes) -> bytes:
    blocks = bytearray()
    counter = 0
    while len(blocks) < len(ciphertext):
        blocks.extend(hashlib.sha256(nonce + counter.to_bytes(4, 'big')).digest())
        counter += 1
    return bytes(c ^ k for c, k in zip(ciphertext, blocks))
That code describes a decoding primitive, not a full answer script. You still have to determine which frame bytes are ciphertext, which nonce belongs to which session, which records carry data, and which are padding. In our reconstruction, numbered fragments formed a 900,000-byte ZIP. Its central directory and every member's CRC validated. That is a powerful boundary: the transfer was complete, but the ZIP's readable notes and identifier-looking strings still did not solve the challenge.
Check a reconstructed archive before interpreting its contents:
from pathlib import Path
from zipfile import ZipFile

archive = Path('recovered-stage.zip')  # your own reassembled output
with ZipFile(archive) as z:
    print('first corrupt member:', z.testzip())
    for member in z.infolist():
        print(member.filename, member.file_size, hex(member.CRC))
The image was doing two jobs
One recovered PNG looks like ordinary artwork. A byte-wise least-significant-bit search and the usual “find ASCII in image data” recipes came up empty. The missed assumption was that the secret had been serialized as text. Instead, capital-letter shapes were drawn across low bitplanes of different RGB channels. Their channel and vertical position varied; their left-to-right order carried the message. We intentionally do not publish the challenge image or its answer-bearing bitplanes; the reproducible inspection method is below.
Generate one view per channel and bit. The following Pillow script is safe for local images and saves a separate high-contrast view for each plane:
from pathlib import Path
from PIL import Image

source = Image.open('img_0412.png').convert('RGB')  # recovered PNG
out = Path('planes')
out.mkdir(exist_ok=True)
for channel, label in enumerate('RGB'):
    for bit in range(4):
        plane = source.getchannel(channel).point(
            lambda value, b=bit: 255 if (value >> b) & 1 else 0
        )
        plane.save(out / f'{label}-bit-{bit}.png')
View the results at native scale or enlarged with nearest-neighbor interpolation. Smooth resizing can blur a one-pixel stroke into the background. Scan each plane visually, then record the channel, bit number, approximate bounding box, and horizontal position of every candidate glyph. If one character is ambiguous, do not invent confidence: compare its pixel strokes with a font hypothesis and verify the entire candidate against the encrypted record.
The same PNG also holds an unusual thumbnail-related chunk. The PNG specification explains why a valid image can contain ancillary chunks that common viewers ignore. Inside that thumbnail data, bytes after the embedded PNG's IEND form a small DER structure. It describes password-based key derivation with scrypt and an AES-256-GCM encrypted record. The enrollment string is the password. A correct reading gives a valid GCM authentication tag and then the tasking identifier; wrong guesses produce an authentication failure, not “almost readable” output.
This is the crucial order of operations:
- Reassemble TCP, then the custom protocol records.
- Validate the resulting ZIP before browsing its media.
- Inspect image pixels and image chunks as separate evidence surfaces.
- Read the visual key candidate left to right.
- Parse the DER parameters, derive the key, and authenticate the ciphertext.
- Submit the enrollment key only as a checkpoint; submit the recovered tasking UUID for the solve.
Checkpoint: If you can explain why a raw LSB-to-ASCII scanner missed the characters, why a ZIP CRC does not validate a password, and why a GCM tag is stronger than a plausible-looking string, you understand the essential mechanics of Task 4.
Task 5 — When an unknown file is a relationship test
Task 5 starts after the distribution-server investigation. The downloaded unknown_file has no useful extension and its opening bytes do not advertise a familiar format. The prompt asks for a target ID from the file, not for a file-type guess. The phrase “holistic approach” is a useful nudge: earlier artifacts can explain a later one. Our ongoing analysis has connected this file to a decoding routine in the Task 3 executable and recovered a valid Windows PE. A further encoded section and its path-dependent unpacking remain under examination; we have not validated the Task 5 target ID.
First, establish what is actually present. Check size, hash, first bytes, and simple signatures on a copy:
Get-Item .\unknown_file | Select-Object Name,Length
Get-FileHash .\unknown_file -Algorithm SHA256
Format-Hex -Path .\unknown_file | Select-Object -First 8
A failed magic-byte check means only that the bytes at offset zero do not form a recognized header. It does not imply random data, a corrupt download, or a proprietary format. Try the familiar routes in a controlled order: inspect strings, scan for embedded MZ, PE, PK, and PNG signatures, measure entropy by window, and compare byte patterns with earlier samples. Record each negative result; do not turn “no hit” into “no structure.”
One striking clue is that the low bit of the opening bytes behaves like a PE header even though the full bytes do not. Compare parity locally with the earlier client.exe rather than assuming that a two-byte MZ test is decisive:
from pathlib import Path

unknown = Path('unknown_file').read_bytes()
earlier = Path('client.exe').read_bytes()  # extracted from your Task 3 archive
window = 64
same_low_bit = sum((a & 1) == (b & 1)
                   for a, b in zip(unknown[:window], earlier[:window]))
print(f'Low-bit matches in first {window} bytes: {same_low_bit}')
print('Unknown header:', unknown[:16].hex())
That comparison is a lead, not a decryption algorithm. Many transforms preserve a bit by accident over short samples. Expand the comparison, inspect the earlier PE's decode routines in a disassembler, and reproduce the small routine in a separate offline script. For each candidate output, require several independent checks: an MZ header, a sensible e_lfanew, PE\0\0 at that offset, sections that stay within file bounds, and a stable hash across repeated decodes. A single MZ pair is cheap to manufacture; a coherent PE layout is not.
In this case the first decoded layer passed those PE checks. The recovered program contains a high-entropy section whose bytes are transformed again before decompression. The second layer depends on the process's current working directory. That is why a plausible decoder can still produce nonsense: a path copied from a log, a file's location on disk, and the process's inherited working directory are three different facts. The earlier memory image offers a way to test the last one without running the unknown program. Inspect process parameters, including CurrentDirectory, and compare them with the decoded program's path-handling code. Treat any path hypothesis as a candidate until the downstream decompressor validates it.
Use a narrow, observable stop condition while testing offline candidates: the decoded length must be plausible, the compressed data must parse to exactly that size, and its contents must have internal structure. For a candidate you have already derived, Python can test the decompression boundary without executing its contents:
from pathlib import Path
import zlib

stage = Path('candidate-stage.bin').read_bytes()
expected = int.from_bytes(stage[:4], 'little')
assert 0 < expected < 50_000_000, 'implausible decoded length'
plaintext = zlib.decompress(stage[4:])
assert len(plaintext) == expected, 'length mismatch'
print('Validated decompressed bytes:', len(plaintext))
Do not search for an ID by grabbing the first eight hex characters or the name of an earlier file. One such basename was already rejected by the challenge checker. Once the layer is recovered, locate the field in context: identify the structure or instruction that uses it, verify its encoding and length, and only then use the official checker. This is the current edge of the investigation, and the article will be updated when that evidence exists.
Alternative routes: A PE parser can validate section bounds; Ghidra can show the decoding call graph; an offline emulator can isolate a pure transform; a memory-forensics tool can recover process parameters. These routes should converge on the same decoded bytes. None requires launching the sample or making a request to infrastructure named inside it.
The false flags that earned their place in the notebook
We tried real alternatives, not just the successful route. Several were worth testing; none became evidence merely because they looked clever.
- The update service's PID: it initiated Task 1 activity, but the later child performed the decisive action. The first submission was rejected.
- A desktop path in RAM: the same suspicious filename existed there, but process image metadata pointed to a different running location.
- A hard-coded port-like number: it appeared in the Task 3 code, but the selected branch transformed it before use.
- Readable 12-letter strings: they matched Task 4's expected format, but the checker rejected them and the GCM tag did not authenticate.
- UUID-shaped blocks: they matched the expected display format, but format alone did not establish assignment to the enrolled device.
- DNS, timestamps, audio, and chat: the capture contained all of them, yet targeted checks did not connect them to an authenticated enrollment record.
- Automated image bit extraction: common methods serialize bytes, while this secret was drawn as two-dimensional letter shapes.
- An eight-character filename: it was a Task 5 lead, but the checker rejected it as the target ID. A filename is not automatically a configuration field.
A rejection is a negative result for one candidate, not a verdict on every artifact that contained it. We retained the rejected hypotheses and their tests so we would not cycle back to the same guess.
Other routes an ethical analyst could take
There is more than one sound way to reach each boundary. The important part is to preserve the evidence standard.
- Logs: Import
sysloginto a local notebook or SIEM and build a host-aware parent/child graph. Use the original line numbers to audit the parser. Do not run commands extracted from logs. - Memory: Compare
pslist,psscan,psxview,cmdline, and thread/process relationships. Supplement with a process's PEB and kernel audit fields. Treat standalone string hits as leads, not paths. - Packed PE: Use a PE parser and Ghidra or another disassembler, then independently recreate small arithmetic helpers. A tightly bounded emulator can validate a helper; a full malware run introduces side effects and is unnecessary here.
- Packets: Use Wireshark's Follow TCP Stream or TShark's field output, then a small parser with assertions for lengths, record indices, duplicate fragments, ZIP structure, and CRCs. Ask whether each byte is transport framing, protocol framing, payload, or padding.
- Images: Inspect channel bitplanes visually, parse PNG chunks, compare embedded file signatures, and preserve the original pixels. Try common tools such as
zstegas a triage aid, but do not let a negative automated scan overrule what the image structure shows. - Crypto: Parse parameters from the artifact instead of guessing them. Use authenticated decryption as a decision test; a successful tag validates the candidate much more strongly than a readable but unauthenticated plaintext.
- Unknown files: Compare transforms from earlier artifacts, validate each decoded layer structurally, and use memory evidence to distinguish a process's working directory from the location of its executable.
The safe operational pattern is consistent: read, hypothesize, test locally, cross-check, then submit only to the official challenge. If this were a client engagement, the final step would be a scoped finding with evidence, affected systems, reproducibility, and remediation—not a scan against an IOC that happened to appear in a sample.
Build your own five-task lab
To practice without exposing the answers, repeat the investigation from fresh copies and stop at five self-checks:
- Task 1: Draw a parent/child diagram with timestamps and cite the line proving the damaging action.
- Task 2: Make a five-column process-view matrix and identify which path field describes live execution.
- Task 3: For each of the six requested IOCs, show the instruction or pure function that computes it, then independently reproduce one calculation.
- Task 4: Reassemble one successful session, validate the ZIP, produce the RGB plane gallery, and use the record's authentication tag to decide whether your visual transcription is exact.
- Task 5: Hash the unknown file, document failed format checks, validate each decoded layer, and explain how you would distinguish a true target ID from an attractive filename. This checkpoint remains open while the final layer is analyzed.
Keep a separate column for what you did not establish. That small habit is the difference between an interesting observation and a defensible conclusion.
Sources
- NSA Codebreaker Challenge — official task and download portal.
- NSA — official announcement of the 13th annual Codebreaker Challenge.
- Wireshark User's Guide — official interface documentation and screenshots.
- Wireshark TShark manual — filters, field output, and Follow TCP Stream.
- Volatility 3 command-line documentation and official Windows tutorial.
- Volatility Foundation — official Volatility 3 parity release.
- W3C PNG Specification, Third Edition — chunks and image data.
- UPX project — executable packing reference.
The challenge packet counts, archive sizes, and investigation outcomes above come from our analysis of the user-supplied 2026 artifacts, not from the general tool documentation. The walkthrough intentionally omits the graded strings and screenshots that show them.